This article serves as an introduction to multi-instance release concepts in source control - you will find the full Retool documentation here, but if you are new to the subject, then you may find the following useful.
What do all these words mean? Here is a quick Analogy!
While Stranger Things is available on Netflix in the US, UK, and Germany, each region may not show the same seasons at the same time. For example, Germany may only show seasons 1-3 of the series, while the UK shows seasons 1-4 and the US shows seasons 1-5. So each region has a different state of what is shown.
In this example
- Instances/Spaces = Germany/UK/US
- Release = "Season 2 of Stranger Things" (the version label)
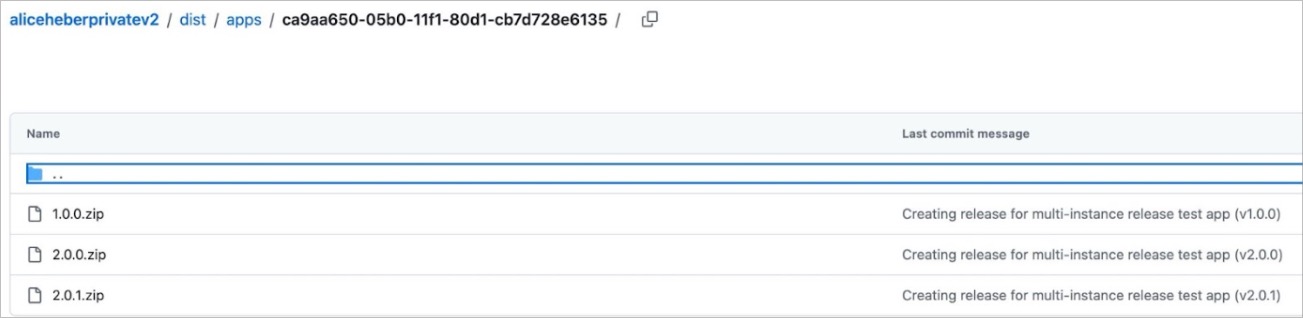
- Artifact = The actual packaged season files stored in Netflix's vault
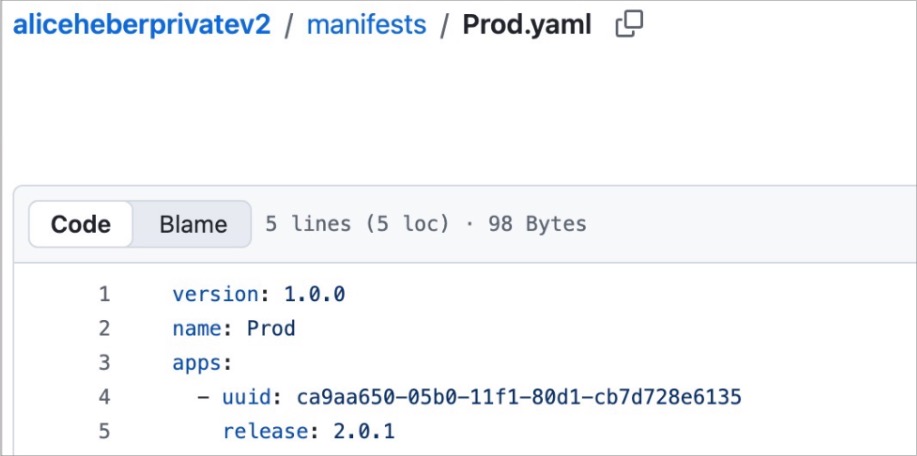
- Manifest = The rules for each region/ "Germany gets Season 1-2, UK gets Season 1-3"
The release is the version number. Each artifact holds all the information for ONE specific release. The manifest determines which artifact (release) applies to each respective instance.
So what does this have to do with Retool?
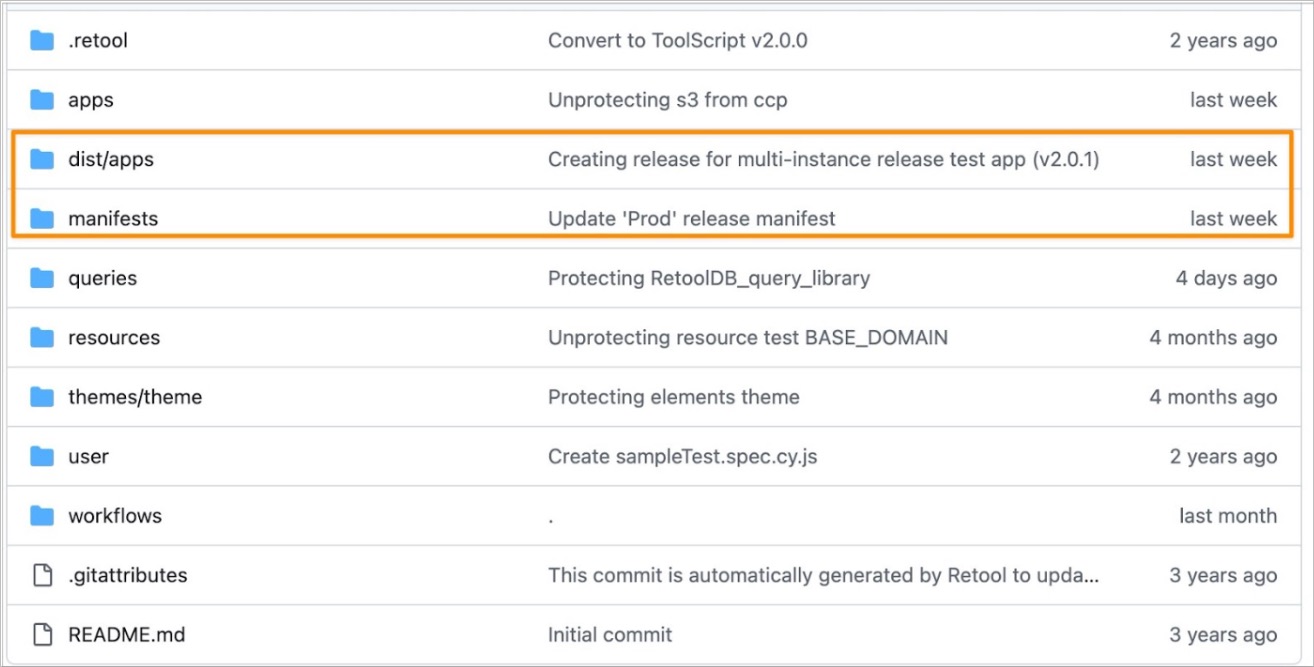
Since releases are committed to your source control repo, users will work with two types of branches living in the repository:
- Feature branches – where you make changes to the app
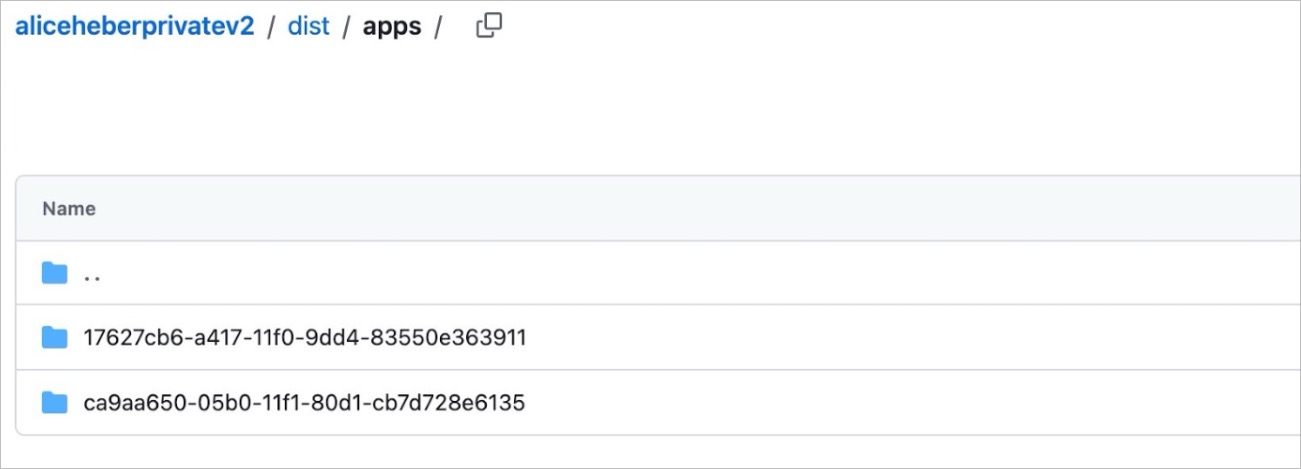
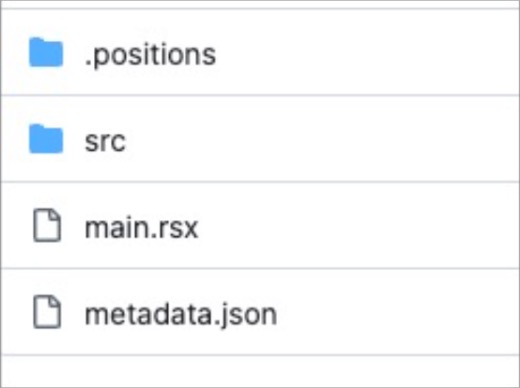
- Release branches – where release artifacts are created
The process looks like this in your protected app:
- Create a feature branch from main and edit the app as needed
- Commit your changes → open a PR → merge the feature branch to main
- Once merged, main contains your updated app
- Create a release from this version of main (Retool creates a release branch with the artifact)
- Merge the release branch to main → the release is now available
Imagine you've built a major update to your "Customer Dashboard" app including new features in release v3.0. You want to test it before deploying it to production right away, that’s why:
- Your production Instance will use the Manifest that points to Customer Dashboard v2.5.0
- Your staging Instance will use the Manifest that points to Customer Dashboard v3.0.0
If multi-instance releases aren't set up, you can still use Releases in each instance — but you'll need to create and manage them manually per instance, rather than being able to control them centrally from a single coordinated pipeline across all instances.
Since releases are committed to your source control repo, users will work with two types of branches living in the repository:
- Feature branches – where you make changes to the app
- Release branches – where release artifacts are created
The process looks like this in your protected app:
- Create a feature branch from main and edit the app as needed
- Commit your changes → open a PR → merge the feature branch to main
- Once merged, main contains your updated app
- Create a release from this version of main (Retool creates a release branch with the artifact)
- Merge the release branch to main → the release is now available
How do I see which manifest each instance uses and which releases are deployed?
- Ensure the
Multi-instance releases: public betafeature is enabled in settings/beta (Required as of Feb 2026, cloud v3.341.0, edge v3.330, stable v3.300 - later versions will have this feature automatically enabled, but users will have the ability to disable it in settings/beta)

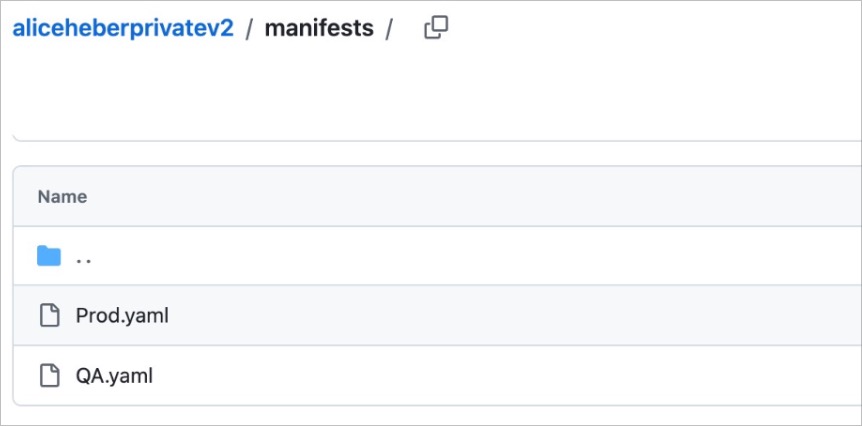
- Go to /settings/source-control and click on create a manifest in the Releases section on the bottom right -> PR and merge this to the repo
- In the same Release section, under the edit config button, select the manifest you want to use for the current instance. Do the same on each instance that you need to set a manifest on
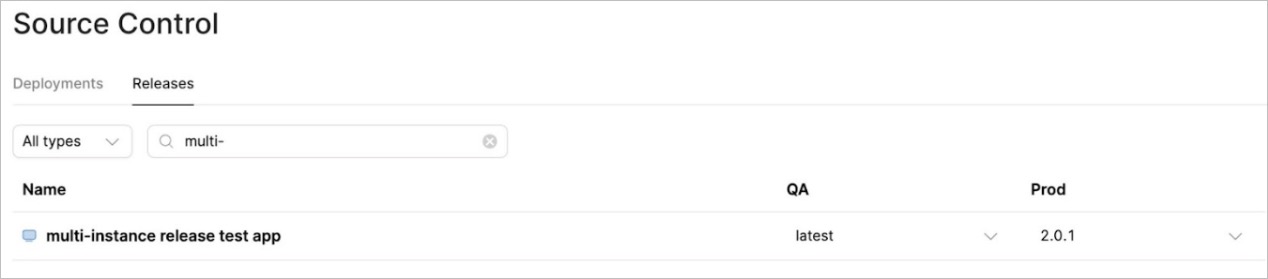
- In the Release tab, you can then set which release version each manifest should point to

Full process in more detail here.
There are great demos of how to create releases or manifests here.