What are they?
Per our docs, modules allow you to build a
reusable group of components and queries. You might use a module to reuse common components in multiple apps or split up common functionality into smaller parts. For example, you can use modules to:
- Create common search filters
- Build a navigation bar to use across all your apps
- Share forms between apps
- Break large, complex apps into smaller, more maintainable parts
We highly encourage you to read through the full documentation, but we’re also including some tips & tricks here ![]()
Things to keep in mind:
- Modules are created in a separate editor from the app editor, but they can be drag and dropped into any app.
- Any component can be used inside of a module.
- Modules can have their own queries, but they can also receive data from the parent app or send data to the parent app
- You will create the module once, and then can add it to any app as many times as needed. Any changes you make to the module will update all instances of the module.
When should I use modules?
The most common use case for modules is a navigation bar. The benefit of using a module for this use case, is that you only have to build it once, and then you can drag & drop it into any app. We’ll go through an example below.
There are some cases that may not be right for a module. For example, if you know your app will always have a table, three select components, and an image, you might consider using a module so that you only have to drag & drop those components once for each app. However, if those components will have different datasets and different component settings for each dataset, it may not be helpful to put them into a module. Generally, modules should be used for cases where there is consistency in the component configuration.
Some teams will use modules to separate work, meaning that one team member can edit the module, while another edits the parent app. Using the separate editors ensures that their work isn’t overwritten while they ultimately work on two parts of the same project. That said, we’re working on a multi-player feature! We should have some exciting updates soon ![]()
Do modules help with performance?
No, generally, using modules in your app will not speed up your app. Modules are not lazy loaded into the app currently. See this post for more info: Best practices to improve editor performance (or to not ruin performance)
Can you nest modules (put modules inside of other modules)?
Yes, you can do this, but we suggest being mindful of when you do this because it can be very tricky to troubleshoot bugs.
Example Case:
-
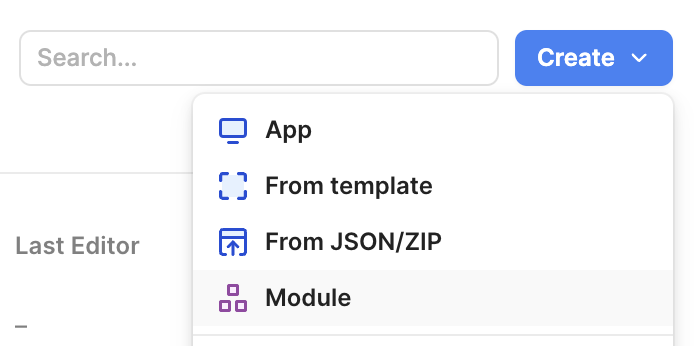
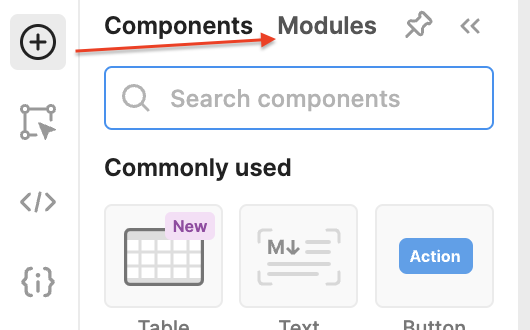
Create a new module. You’ll notice that the module editor looks very similar to the app editor, except that it comes with a single container--there’s no header, sidebar, or drawers. All of your components will go into the container. Keep in mind this container spans the width of the canvas, but you may want to adjust it for the actual size that you want it to take up in your app
-
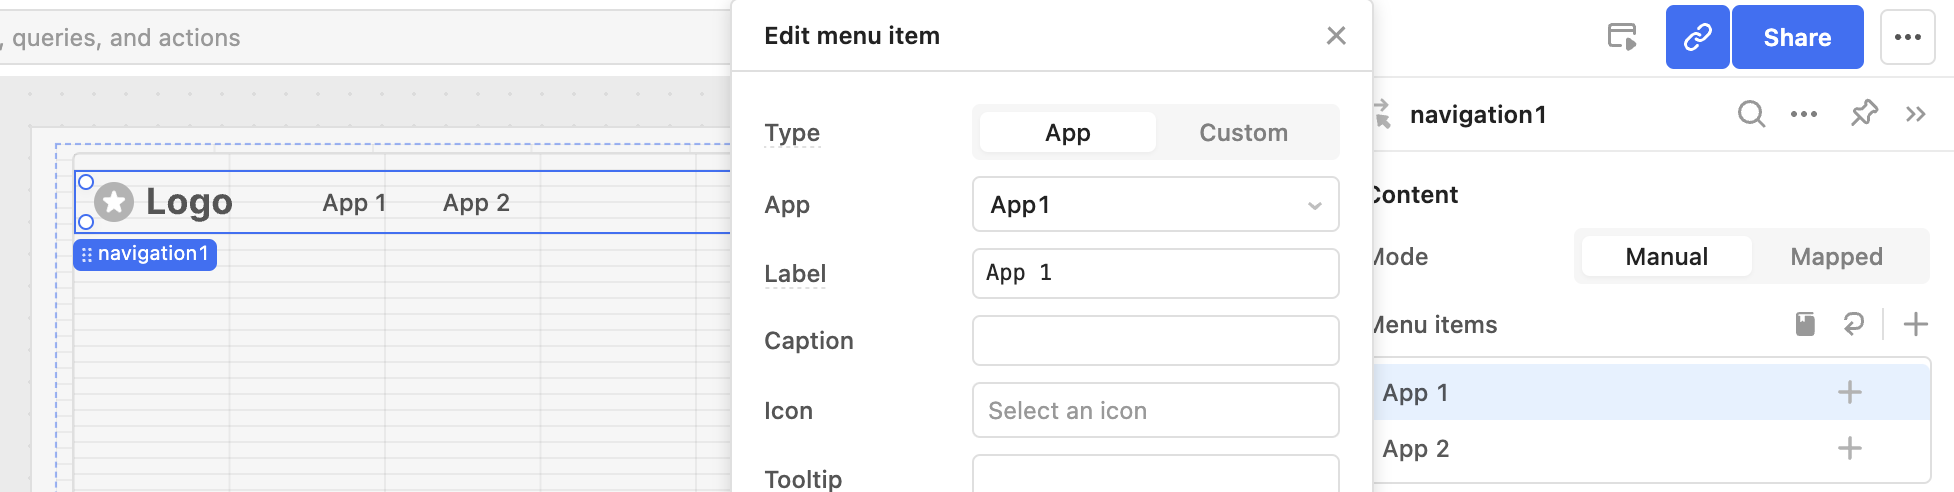
We’ll start by adding a navigation component and configuring the nav to link to two different apps:
-
Next, go to each app that you want to use and drag & drop your module. I’m going to add my module to the header of my app 1 and app 2. Note that the module inherits the app name from the parent app & highlights the correct item in your menu:
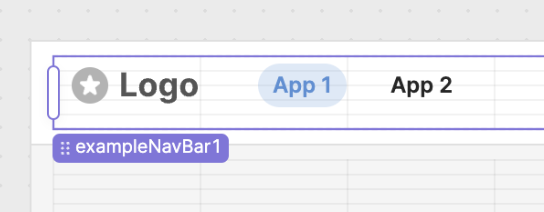
![]() Now, I could easily add a third app to my menu in the module & it will show up in each app. Or, I could pass some data from the module - such as the logo information- to my apps as an output.
Now, I could easily add a third app to my menu in the module & it will show up in each app. Or, I could pass some data from the module - such as the logo information- to my apps as an output.
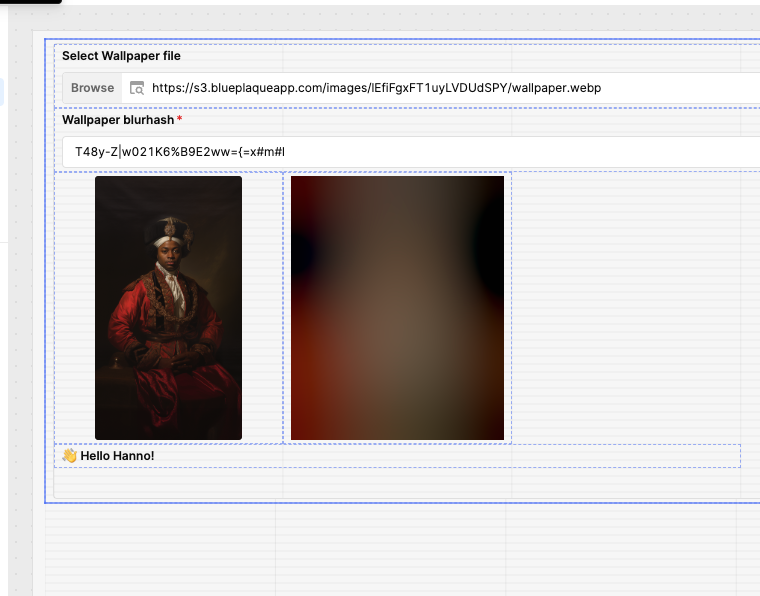
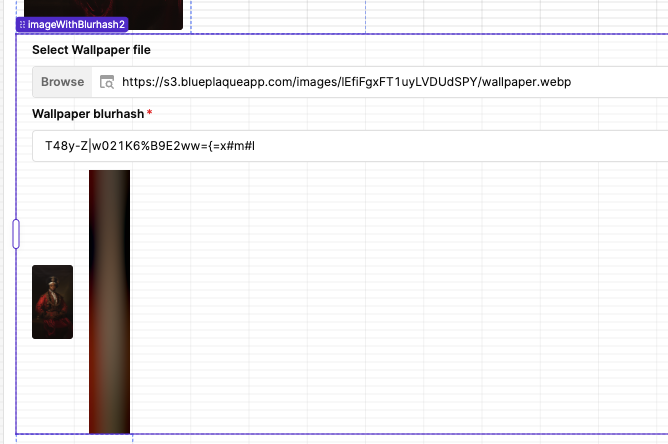
To pass app specific data to your module from the parent app, you can use a data input.
Query inputs allow you to trigger parent app queries from your module. For example, I can create a button in my module that will trigger confetti in my parent app:
- I'll create a
queryinput, and trigger it on button click inside my navigation module. - Then, I'll go to each of my apps that uses the module & assign input2, my query input, to a Javascript query in the parent app that triggers confetti:

![]() Now, I can trigger confetti in my apps by clicking the button in my navigation header module
Now, I can trigger confetti in my apps by clicking the button in my navigation header module
Other tips:
-
If you’re building a module for particular app, we recommend periodically testing the module in your app as you’re building. Sometimes you have to tweak the size of the module container in the module editor in order for it to have the right spacing in your parent app.
-
Custom css & preloaded Javascript aren’t supported in modules. Once you drag & drop the module into the app, any css or preloaded js you configured in the module editor will stop working.
-
Do not name your module the same as your inputs or outputs. For example, if your module is called navigationBar, do not make your module input navigationBar.value
-
When you export an app to JSON, the module will also be exported