A while back I posted about using jsPDF, and found a way to make it work. Recently, it became more of an issue as we wanted to print nicer (i.e. send to your customer) PDFs.
As we have to produce sometimes a lot of these in a given week, I didn't want to rely on a 3rd-party API with their charges, but I wanted more control over the PDF, especially around page breaking and such. So, a quick trip back to the drawing board, and now we have an ultra-simple custom component that can be fed a string of HTML, and then print a nice version of it (depending on your CSS skills, of course!)
So, 1st-up, you need to create a custom component.
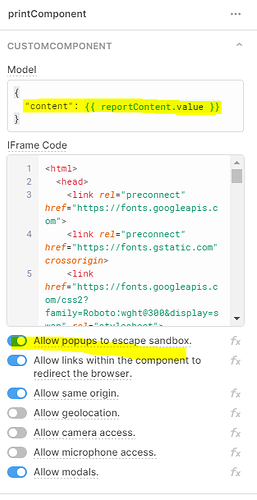
Two key things here:
- Our model references a temporary variable. This temp variable is where we will store the HTML string that will be our document to print
- You need to select Allow popups to escape sandbox
Generating the HTML to use in your document is an exercise left to the reader
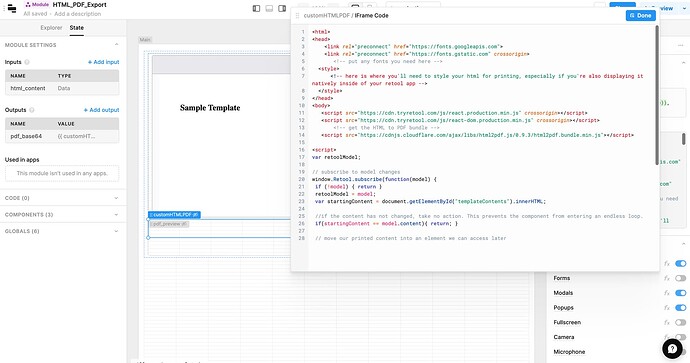
Now, once we've set that up, we need to put our code together. This is going to be an extremely simple custom component.
<html>
<head>
    <link rel="preconnect" href="https://fonts.googleapis.com">
    <link rel="preconnect" href="https://fonts.gstatic.com" crossorigin>
       <!-- put any fonts you need here -->

	<style>
                <!-- here is where you'll need to style your html for printing, especially if you're also displaying it natively inside of your retool app -->
	</style>
</head>
<body>
   <script src="https://cdn.tryretool.com/js/react.production.min.js" crossorigin></script>
   <script src="https://cdn.tryretool.com/js/react-dom.production.min.js" crossorigin></script>
       <!-- get the HTML to PDF bundle -->
   <script src="https://cdnjs.cloudflare.com/ajax/libs/html2pdf.js/0.9.3/html2pdf.bundle.min.js"></script>

<script>
    // subscribe to model changes
 window.Retool.subscribe(function(model) {
   if (!model) { return }
   var content = model.content;

    // move our printed content into an element we can access later
   document.getElementById("templateContents").innerHTML = content;
 });


 function pdprint() {
     // our function to generate and display the pdf in a new window
   var opt = {
      margin:       0.5,
      filename:     'myfile.pdf',
      image:        { type: 'jpeg', quality: 0.98 },
      html2canvas:  { scale: 2 },
      jsPDF:        { unit: 'in', format: 'letter', orientation: 'portrait' }
  };

  window.html2pdf().set(opt)
    .from(document.getElementById("templateContents").innerHTML)
    .toPdf()
    .output('bloburl')
    .then(function(pdfas) {  window.open(pdfas) } );

 }
</script>

      <!-- now, you just need a button to trigger the printing (you must take an action to open the new window) -->
   <button id="pdfDownloadLink" href="" onclick="pdprint(); return false">Download PDF</button>
        <!-- ... and a place to put our html conten -->
   <div id="templateContents" style="display:none"></div>
 </body>
</html>
That's it, now you have a button that when you click it, it will put the contents of the variable you referenced in the model into a PDF and then open that PDF in a new window.
They key here is that the opening of the PDF in a new window is triggered as a result of you hitting the button (to get around sandbox security issues), and you don't rely on the native print/save function from html2pdf, but instead you take the blob as a datauri, and pass it to window.open().
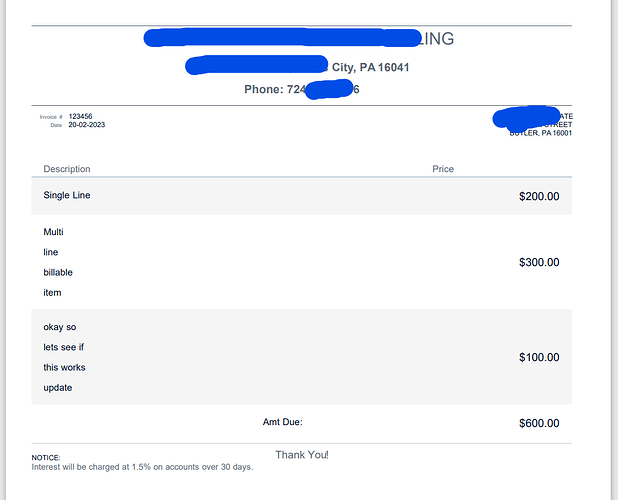
As you now have full control over the CSS (within the custom component), you can go all out, and make your PDFs look great without relying on any 3rd-party services. You will, of course, need to flex your CSS muscles as printing to a PDF has its own little gotchas.


