This guide outlines how to set up your environment, make changes, and sync custom components across instances connected through source control.
Multiple instances, Spaces and source control are available on the Enterprise Plan.
Step 1: Choose a Primary Instance For Your Component
When deploying a custom component library to multiple Retool instances or Spaces, you should choose one instance to be your primary development environment. This is the only instance you should login to, and the only place where you'll develop or deploy new versions of your custom components.
Step 2: Configure Your Sync Target With npx retool-ccl sync
This command will guide you through setting up a sync target, where you'll specify the instance you want to sync to.

Before running it, make sure you've created an access token for the target instance. The token must have the Custom Component Libraries read and write scopes enabled to allow proper access through the Retool API.
Once these steps are complete, any time you run npx retool-ccl sync, that instance will be available to select for easy synchronization.
Step 3: Implement the Following Workflow
Now that you have your primary instance and ability to sync, it’s time to develop. Here's the workflow I use to ensure consistent custom component deployment across instances.
For the following example, I have two Retool instances. My Staging instance (localhost:3000) is where I do all of my app development. My Production instance (becs.retool.dev) is only used for production. No app changes are made directly to that instance; instead, changes made in staging are pulled into production via source control.
Watch the video here: How to Use Custom Components Across Multiple Retool Instances | Loom
-
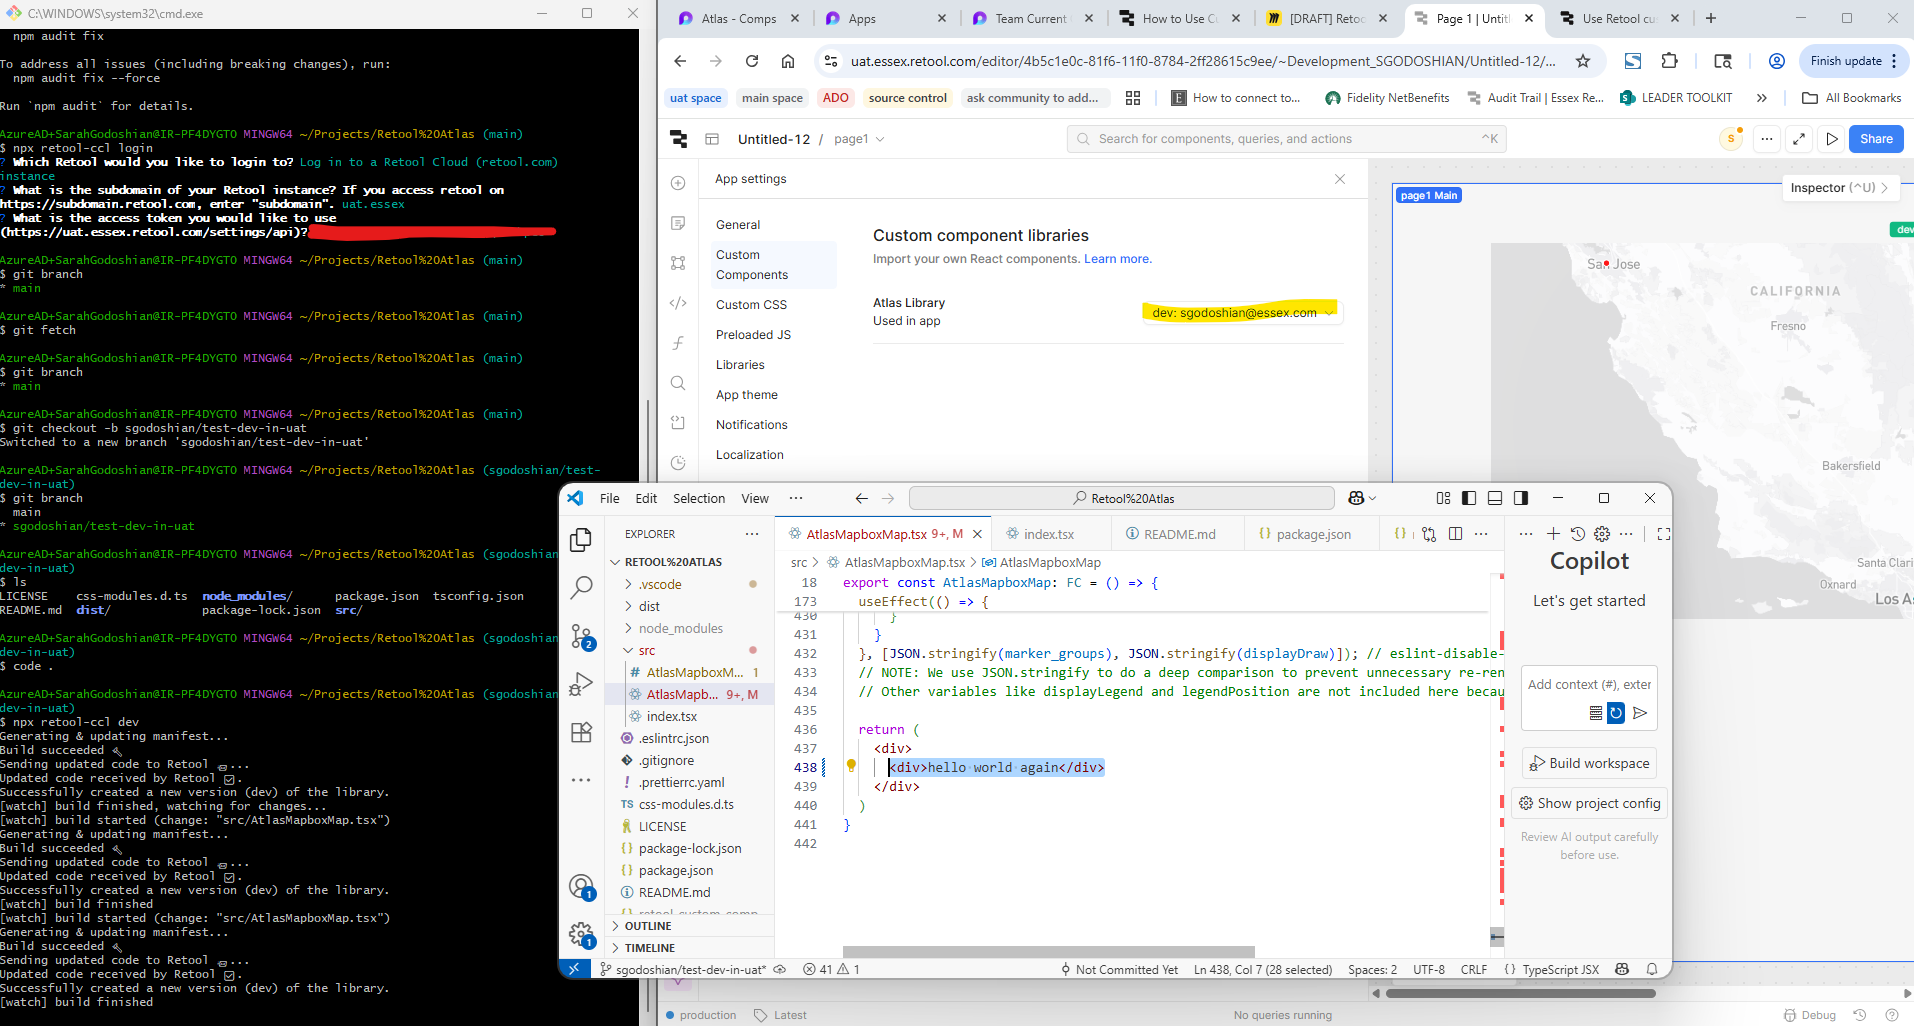
In your custom component repo, login to your primary custom component instance using
npx retool-ccl login. -
Create a new branch in your app within your Retool Staging instance.
-
Enter the
devenvironment in your custom component repo usingnpx retool-ccl dev. -
Make the necessary changes to the custom component and save.
-
Deploy the updated version of your component using
npx retool-ccl deploy. -
Sync the new version of your custom component library to your secondary instance by running
npx retool-ccl syncand selecting the instance. -
In the Staging instance, exit the custom component
devmode and update version to the latest deploy. -
Commit and open a PR for your app changes from the Staging instance.
Once merged, you’ll see your Production instance updated with the newest version of the custom component.