Sure @Jagerbom, I'm happy to share. I wrote this up a couple months ago:
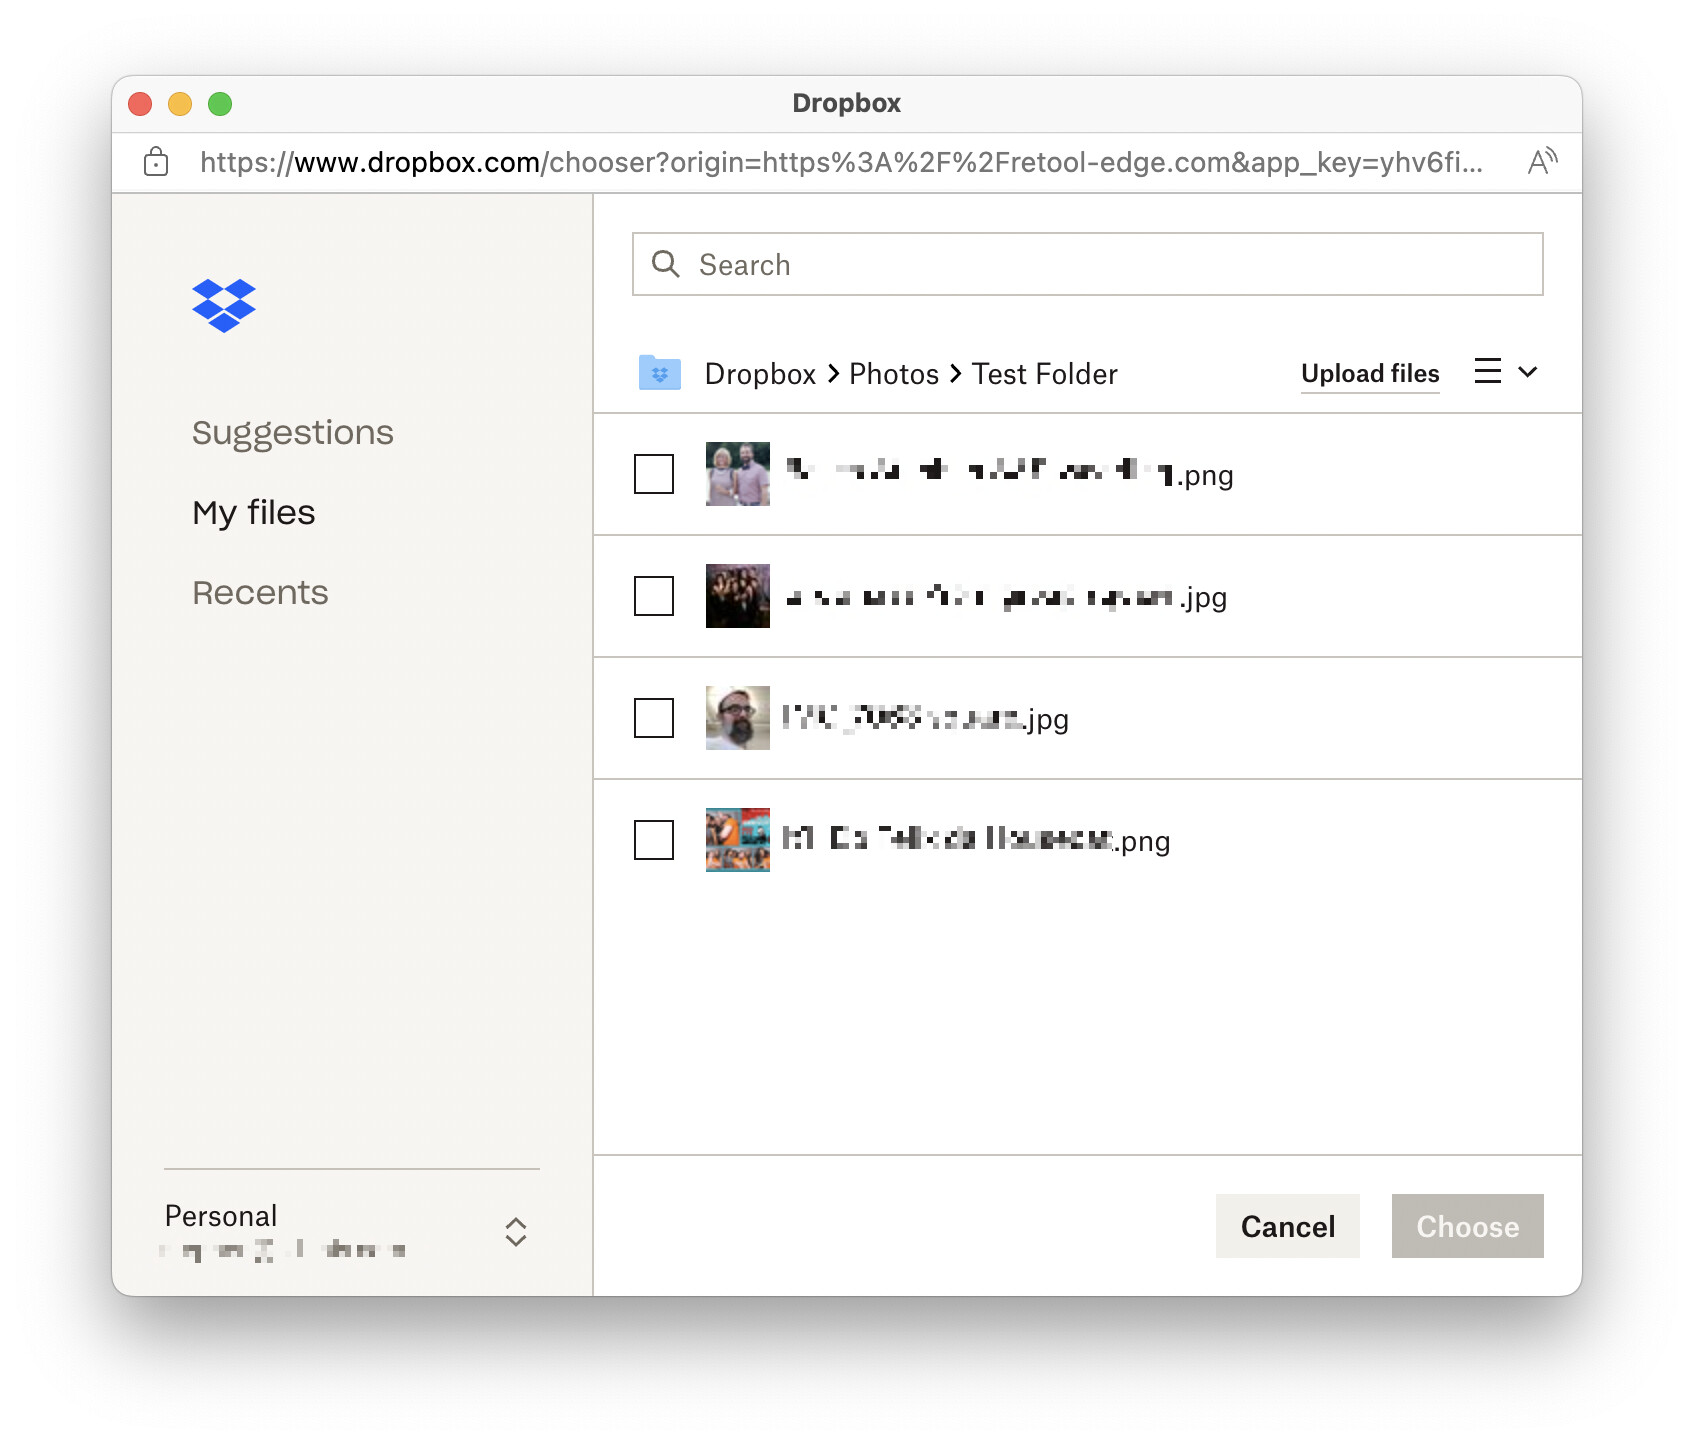
Here's an example of the Dropbox chooser popup after clicking one of the buttons shown above:
After you find and select the desired file and click Choose, the popup closes and the URL populates itself into the text input. Nice! But how?
This solution combines the Retool Custom Component and the Dropbox Chooser. I suggest reading through both!
I certainly don't claim the following to be comprehensive – this entailed a few hours of experimentation, and there are lot of variables involved (not to mention personal preferences) – but I hope it's enough to convey the gist of it.
The Dropbox Chooser docs refer to an "app key" – ultimately, you'll need an app key generated from the organization that will be browsing its own Dropbox files. That may be the same as your dropbox account if you are part of that org's dropbox account, or not (e.g. if you're a freelancer). Something to keep in mind.
A few notes for when you're in the "Create a Dropbox app" page on Dropbox:
You also don't want "multiselect" enabled for your Chooser, since you're only grabbing one URL. You probably also want Preview links rather than Direct links, as the latter expire after a few hours.
In your Retool app:
-
Add a text input field and a custom component to your app. Give 'em good names.
-
Set the custom component's Model to { "dropboxURL": null }.
-
For the first dropbox button example shown above (the wide, default "Choose from Dropbox" button), replace the custom component's iFrame code with the following (update yourAppKeyGoesHere with your app key):
<style>
  body { margin: 0; }
</style>

<script type="text/javascript"
  src="https://www.dropbox.com/static/api/2/dropins.js"
  id="dropboxjs"
  data-app-key="yourAppKeyGoesHere">
</script>

<script>

var options = {
  success: function(files) {
        window.Retool.modelUpdate({ dropboxURL: files[0].link })
    },
  multiselect: false
};
var button = Dropbox.createChooseButton(options);
document.getElementById("dropbox").appendChild(button);

</script>

<div id="dropbox"></div>
I wanted a more compact solution (second button example shown above), so I used this as the iFrame code (again, note the yourAppKeyGoesHere):
<style>
  body { margin: 0; display: flex; align-items: center; }
  img:hover { background: #ffffff; }
</style>

<script type="text/javascript"
  src="https://www.dropbox.com/static/api/2/dropins.js"
  id="dropboxjs"
  data-app-key="yourAppKeyGoesHere">
</script>

<script>
var options = {
  success: function(files) {
        window.Retool.modelUpdate({ dropboxURL: files[0].link })
    },
  multiselect: false
};
</script>

<img src="https://cfl.dropboxstatic.com/static/images/logo_catalog/dropbox_logo_glyph_m1.svg" style="height: 1.1em;" onClick="Dropbox.choose(options)" />
For either approach, toggle on the custom component's "Allow popups to escape sandbox" and "Allow same origin."
- Set the text input's default value to be the custom component's model value (this will pop the URL into the text field as soon as the custom component's model is updated by the Chooser):
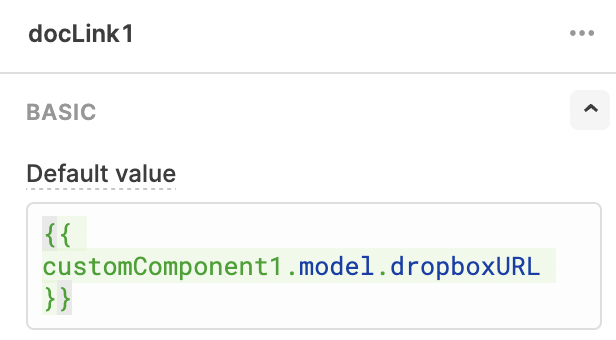
This should result in a functioning Dropbox Chooser -> text input field implementation.
The Catch
After some successful use, we noticed that the dropboxURL value in the custom component's Model can hang around and cause some unexpected behavior if the text input field is part of a form that is linked to a table that has a "select row to edit" functionality. Basically, the form is trying to default a value into the text input from the table's selected row while the text input is simultaneously trying to default in a lingering value from the custom component's Model.
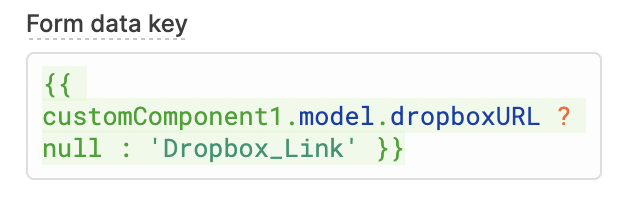
The solution for this was two-pronged. First, routinely null the Model's value any time the table's selection is changed or cleared (this seems to cover the scenarios when you want to dump that value, YMMV); second, when there is a value in the custom component's model (i.e. you have just chosen a new URL from the Chooser), break the link between any existing value in the table's selected row and the text input, thus allowing the just-picked new URL to overwrite the existing value from the table:
Table component:
Text input component:
The above is working well for our specific use cases – I hope it is helpful for you!